Showing posts with label tutorial. Show all posts

Sunday, 15 July 2012

Crochet Butterfly Tutorial

I found this wonderful tutorial on crochet butterflies and they turn out adorable!! The only thing is that the pattern is in UK terms, so I wanted to write it out in US terms--but here is the original tutorial


And these are the ones I just made:


I used embroidery thread/floss, and a 3.25mm / D hook.

Make a magic circle, or join a chain 6 together.


Round 1:

Make 4 groups of *3dc, 2ch, 3dc, 2ch*

Join with a slip stitch in the top of the first double crochet.

 Round 2:

Chain 3, then make (3dc, 2ch, 3dc) into the next 2ch gap
Make (3dc, 2ch, 3dc) in the following six 2ch gaps.
In the last gap make (3dc, 2ch, 2dc) and join with a slip stitch in the top of the 3ch – the 3ch you made at the beginning of the round, acts as a double crochet. 
You should have 8 groups of (3dc, 2ch, 3dc)


Round 3:

8dc in the following 2ch (the peak of the 'petal') then a slip stitch into the next gap (the space between the two 'petals'). Repeat this all the way around until you have eight groups of 8dc.

Join with a slip stitch into the last space. Fasten off.  Leave the tail long enough to sew the butterfly together and to sew on the antennae.

Antennae:

Make a chain in the length that you’d like your antennae to be (remember it will be folded in half). Fasten off and sew in the ends. Fold it in the middle.
Fold the flower shape you've made, in the middle, to create a butterfly shape. 
Now use the tail left over to sew up the middle of the butterfly and to attach the antennae.

and voila! You have a cute butterfly for your hair, clothes, accessories--sky's the limit! Please go to maries making's blog for the picture tutorial and UK terms!

Rachael


Saturday, 14 July 2012

Cute Crochet Tutorials, Patterns


I was cruising pinterest and I found some adorable crochet patterns I wanted to share!


crochet slippers pattern
Super cute! I love the colours. (I found the tutorial here)


Love this hat too! (Tutorial found here)


Cuteasabutton1


Beautiful flower--this is going to become a hair clip! Made by mikey from thecrochetcrowd (tutorial)


These will become hair clips too! (tutorial)


I hope you like them! Let me know if you've tried any of them and how they worked for you!

Rachael

Sunday, 8 July 2012

Lace Nails Tutorial - DIY

So, I found these really cute lace nails on pinterest yesterday!


http://media-cache-ec2.pinterest.com/upload/258745941060773407_mfvFmRfo_f.jpg


and I decided to do it, and take pictures along the way to show you how to make them!!

First, I bought some lace from Michaels, it comes as a ribbon

It was about 3 dollars with the coupon.

And then I cut out a rough nail shape from it with sharp fabric scissors


I painted my base colour on my nail that I wanted to show through--Pink in this case!! and then applied a clear coat as a base glue to glue it on. Then I pressed the lace down all around my nail neatly and made sure it was all stuck to my nail. Some parts wanted to stick up, so be patient!


Then trim off the excess with sharp precision scissors


And then apply a generous few coats of the clear coat again to really stick it on!!


Mine is the Revlon colour called Natural--it works great!


and tada!!! I just did one nail because... well.. I didn't have the patience to do all of them last night hahaha. But its super cute and really fun!! Pretty easy too, just takes a bit of patience!

And then to take it off, I filled my nail-polish remover cap with the remover and held my lacey finger in there for about 30 seconds and it peeled right off--so no big deal!!


The lace feels so neat on your nail--I couldn't stop touching it and feeling it and playing with it, hahaha and it stayed on there pretty good! It would have lasted probably at least a week on there. It wasn't snagging on anything at all.


Let me know how you did your nails and if you'd like to see a tutorial on anything else!

Rachael


Friday, 6 July 2012

DIY Single Use Pouches For Ointments, toothpaste, etc! -- Tutorial

This is an awesome DIY that I found from pinterest! It's a great way to make single use containers for toothpaste, face cleanser, ointments, etc!! And so easy too!!


http://farm6.staticflickr.com/5318/5888240094_032851bc8a.jpg


Check out this guy's blog for step-by-step instructions to do it. :D

Awesome idea for traveling too! :)

<3 Rachael


Thursday, 5 July 2012

DIY Fabric Stiffener

http://img2.etsystatic.com/000/0/5173127/il_570xN.173952430.jpg
http://www.etsy.com/listing/56170560/wedding-headband-bridal-hair-piece-lace

http://cn1.kaboodle.com/hi/img/c/0/0/77/1/AAAADFWD4ogAAAAAAHcRPg.jpg?v=1254636854000 
http://www.etsy.com/listing/31988274/white-lace-headband-bridal-or-special

Magnolia ivory lace bracelet - product image

http://www.stitchesfromtheheart-ca.com/collections/all/products/magnolia-ivory-lace-bracelet
Gorgeous!!

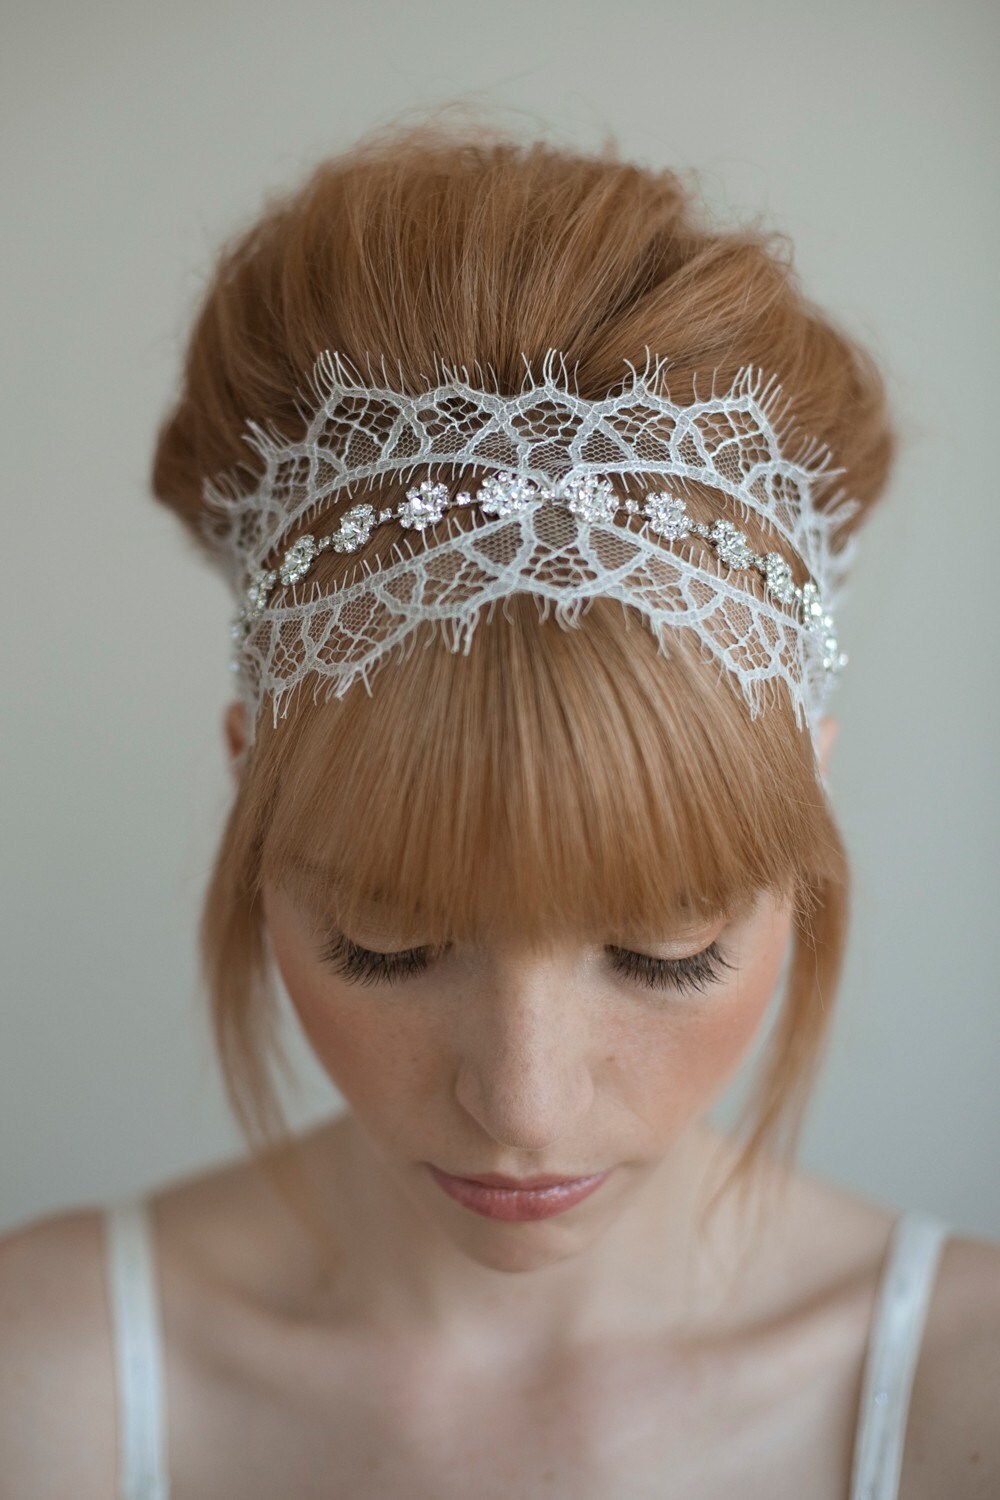
So I've seen the lace headbands and they are so cute!! I totally want to make one, but I probably shouldnt spend more money on stuff such as fabric stiffener!! And then it hit me--there's probably a great tutorial on diy stiffener!! Here's the one I found and wanted to share!!

So all of these lace items maybe dont need a stiffener but I probably would stiffen them anyways haha so it doesnt go all wonkity!

 http://c1craftingagreenworldcom.wpengine.netdna-cdn.com/files/2011/07/DSC06046.jpg

http://craftingagreenworld.com/2011/07/21/diy-natural-fabric-stiffeners/

And there's the tutorial! I will be trying this soon--I have the lace, and the materials for the tutorial ;) so I will keep you posted!!

Rachael

Wednesday, 4 July 2012

Glitter Painting Tutorial Step-by-Step

Just finished an awesome project!! I enjoyed making it so much, that it never sat for more than a day untouched--which is amazing in this house hahaha.

Tada! Here, I'll show you how I did it!

You'll need:

Acrylic paint
A Canvas
Painters Tape
Glitter
Alenes Tacky Glue
Water
Container
Brush
A Surface (portable is best, I used a large piece of foam board)
A piece of paper


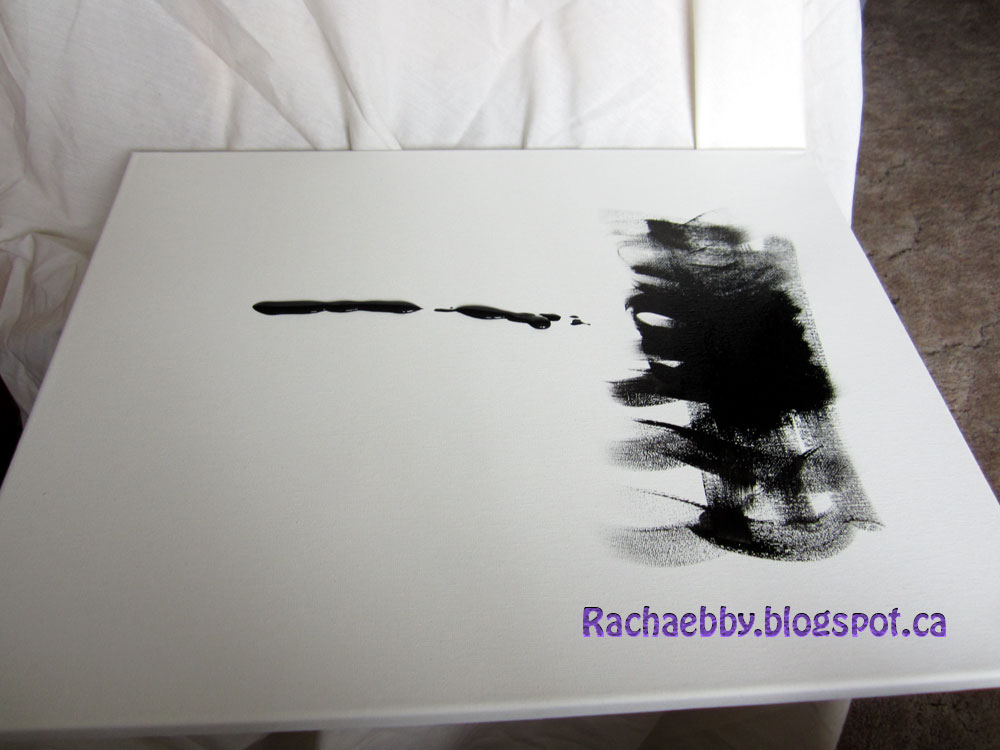
Paint your canvas your base colour--mine was black. This colour will show through the glitter when you take the tape off.


Tape it off however you want. I just randomly did it. Whatever feels good, just do it!!

Start painting in each section with the base colour of what colour of glitter you are doing.


I went into my glitter drawer and picked a few colours that I thought went together nice--although I am TERRIBLE at putting colours together *blush!*

Mix some alenes tacky glue with about a table spoon of water and mix it up well. I used an old face-scrub container with a screw top so I could close it up and go back to it later without having to remix glue every time.

K, here's a bit more step by step of the glittering and gluing.

Pink section

Pink glitter!

Brush glue into the section. Try to stay just over the edge of the pink. If you go much over onto the tape, its wasting precious glitter! I ran out twice--good thing i work at michaels so I was going there anyways today to work hahaha to pick up more!!

Dash the pink glitter all over the glued section. I do the edges first, then sprinkle all over the edges. I didn't have a ton of the pink so I had to tip the canvas on its side to pour the glitter onto a piece of paper to catch it, and then used the sheet of paper to sprinkle it back on again, and kept doing this until all the glue was covered.

Tada! A section all glittered up! I do all of each colour at one time. All the pink sections--let it dry for a few hours. All the blue sections--dry for a few hours--etc.
Dont do more than one colour at a time or bits of the wrong colour will get in the other colours' wet glue and be not cool!!

Now is the fun part!!


Peel off the tape!! This was ultra satisfying!! Peel carefully, because the glitter shakes shakes shakes off! Ahhhh I got it every where lol, my husband yelled at me many times during this project hahaha.


Voila! It's my new centre-main-ultra-awesome-favouritest-piece-of-art!! Anyways i hope this helped you make your own!! Let me know if you have any questions!!

Have you made a painters tape painting??

Rachael

Wednesday, 27 June 2012

 I just wanted to let everyone know a bit more about me! I work part time at Michaels arts and crafts and that's where i get a lot of my inspiration--and my need to create!! So after awhile, once i found out about Etsy, I started a shop about a year ago. Just a few months ago I started taking it really seriously. I don't like working for the man! lol I want to be my own boss. :)


So now, in all of my spare time, I am creating accessories! Headbands, hair flowers, earrings, bracelets, necklaces, even jewelry display pieces for your wall!  I also have a great passion for crocheting now too. :) It's definitely an awesome winter activity!


This is the link to my shop:

http://www.etsy.com/shop/RachaBee?ref=si_shop

So enjoy a few of the pictures of my product, and let me know if you have any comments or questions, or even if you have a shop so I can check it out!!


What is your favourite kind of stuff to create???


Thanks for stopping by!

Rachael

Tuesday, 26 June 2012

Homemade Potato Chips Tutorial

Okay!! This is my first tutorial, so sit back, grab your coffee (mine is in my mustache cup that i painted :D)

and sit back and learn how to deep (or should I say shallow?) fry chips!!

Peel thy potato (i just used the cheap russets)


I made a big mess... haha I am terrible at peeling potatoes--usually its my husband's job but he was working today :) owell!!

Then slice those babies with a mandolin


Use the guard thingie!! I have seen way too many people slice off a piece of their hand--yuck!

Put some oil in your metal pot (I used olive oil because I wanted to use it up before it expired teehee, so that is probably expensive if you use olive oil every time haha)


I put it to medium heat on my stove, waited until it was hot enough that when you flick a bit of water in the oil it crackles like crazy. Then put in some of your thinly sliced potato bitties! My pot held about 8 large slices at a time.


Notice the METAL utensil on the stove. Make sure it's metal lol I just used whatever metal utensil i had in the drawer and it turned out to work pretty good!! It's like a.. uhm.. spaghetti grabber? hahaha Whatever you get it!!


sizzle sizzle sizzle--sizzle sizzle sizzle--sizzle sizzle sizzle

k anyways lol, leave them in there until they start turning a bit golden brown. Trust me, they can burn fast haha, even when they got a darker golden brown they didn't taste as good--I took them out juuuust after they were cooked through.

and VOILA


Quickly toss a little bit of salt on them while they are still hot. Yum yum in my tum! A little time consuming, but delicious!! I hope you enjoy :) If I could do it, you soooo can!!

Let me know if you have any tips to help me out for the next time--how do you make your chips?

Thanks for stopping by!

Rachael